The evaluated parameters are the internal and external parameters of the device each time the picture is acquired. The actual argument is to detect a series of feature points (such as the corners of a checkerboard) in the test picture. Based on these feature points, we associate them with the structure of the real world. The scale of parameter evaluation is the total number of evaluation data, which is usually 20-30 for a space camera system. The feature points used in the actual demonstration may appear in multiple images in the form of thousands or hundreds of midpoints.
Imatest has participated in the geometric calibration standards, requirements and solutions in the Mobileye solution. It is currently on the market.
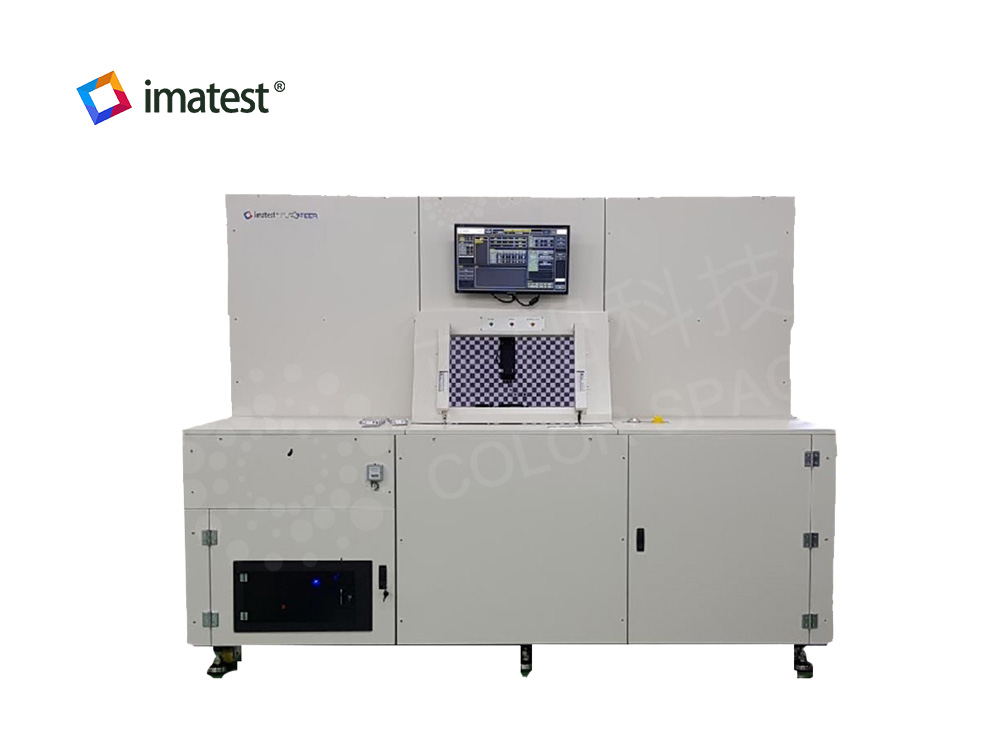
This calibration equipment can be used both in the production line and in the laboratory. It takes only a few tens of seconds to calibrate a camera and is compatible with cameras with different field of view types. When the production line is changed, there is no need to repeat the investment. This calibration equipment can be used both on the production line and in the laboratory. It takes only a few seconds to calibrate a camera and is compatible with different field of view types. When the production line is replaced, there is no need to reinvest.
Imatest has developed geometric calibration solutions for cameras with fields of view between 28° and 200°.

This calibration scheme is an example of parameter evaluation based on actual demonstration. The evaluated parameters are the internal and external parameters of the device in each acquisition picture. The actual argument is to detect a series of feature points in the test picture (for example, a reference pattern that identifies a unique center point). Based on these feature points, we associate them with the structure of the real world. The scale of parameter evaluation is the total number of evaluation data, which is usually 20-30 for a space camera system. The feature points used in the actual demonstration may appear in multiple images in the form of thousands or hundreds of points.
What is camera geometry calibration?
In the image measurement process and machine vision applications, in order to determine the relationship between the three-dimensional geometric position of a point on the surface of a space object and its corresponding point in the image, a geometric model of camera imaging must be established. These geometric model parameters are the camera parameters. Therefore, geometric calibration is a process of parameters required for the relationship between the (2D) points on the plane of the camera image and the (3D) points in the real scene captured by the camera.
Parameter evaluation
-Internal Reference
These parameters represent the internal parameters of the spatial mapping camera in the system, and they are to be tested and evaluated. These include:
· EFL
· Skew
· Alpha
· Principle point (x,y)
· Distortion center (x,y)
· Distortion model coefficients
Normally, we do not do skew and alpha evaluation and assume that they are fixed. This is consistent with the same principle of the sensor's pixel spacing in two-dimensional space (X and Y), and these dimensions are vertical. If one or two of them cannot display the sensor well, then parameter calibration is required.
-External reference
In the process of making the camera, for each test position, the internal parameter calibration will be accompanied by the evaluation external parameter. The following parameters are returned for each camera in the system:
· Translationrelative to reference device (3-vector)
· Rotationrelative to reference device (3×3 matrix)
In addition, the posture of the test equipment at each test position will also be recorded and evaluated and returned to the system. By combining the relative reference poses, the pose of each camera can be reconstructed each time.
Why use this calibration system?
1. Avoid human error and reduce time cost. It only takes tens of seconds for this device to calibrate a camera
2. Improve speed, ensure precision and space utilization
3. High-precision test products to escort safe driving
Implementation
1. Calibrate the camera by accurately mapping the pixel position to the actual position of the monocular, binocular, and multi-camera device.
2. Combines analysis software and calibration hardware required for rapid testing on the production line.
3. Able to optimize each test setting for a specific camera, and enable the entire system to realize automatic control and calibration of the camera.
4. Imatest has developed geometric calibration solutions for cameras with fields of view between 28° and 200°.
Main features
1. Calculate internal parameters, external parameters and distortion
2. Can test monocular and multi-camera cameras
3. Free space test can be performed within the minimum focal length range
4. Short test time (30~90 seconds)
5. Automated testing
6. Integrated software analysis and calibration
Device Information

· Length: up to 254cm
· Width: the widest up to 254cm
· Height: up to 198cm high
(The above size is the maximum size expected. The actual size will vary, depending on the system requirements)
Related reading: Calibration verification method for geometric camera calibration
【Reserve a Lab】For more information, please contact: sales@colorspace.com.cn

Follow ColorSpace for industry news/events/solutions
Contact: sales@colorspace.com.cn
Phone: 15817270587
Tel: 400-886-3881(周一至周五 9:00~18:00)
Email: sales@colorspace.com.cn
Add: South Building #2-1101, Lv Di Qi Hang Office Building, Hou Sha Yu, Shun Yi District, Beijing, China